Your cart is empty


A Guide to Configuring Tattoo Power Supply Settings
One of the most overlooked elements when it comes to making an awesome tattoo is tattoo power supply settings. If you get your tattoo machine power supply set correctly, the impact will show in your final results. Today, we are going to get right down to the finer points of tattoo power supply settings, so you can be set up and ready to make that perfect piece of body art.
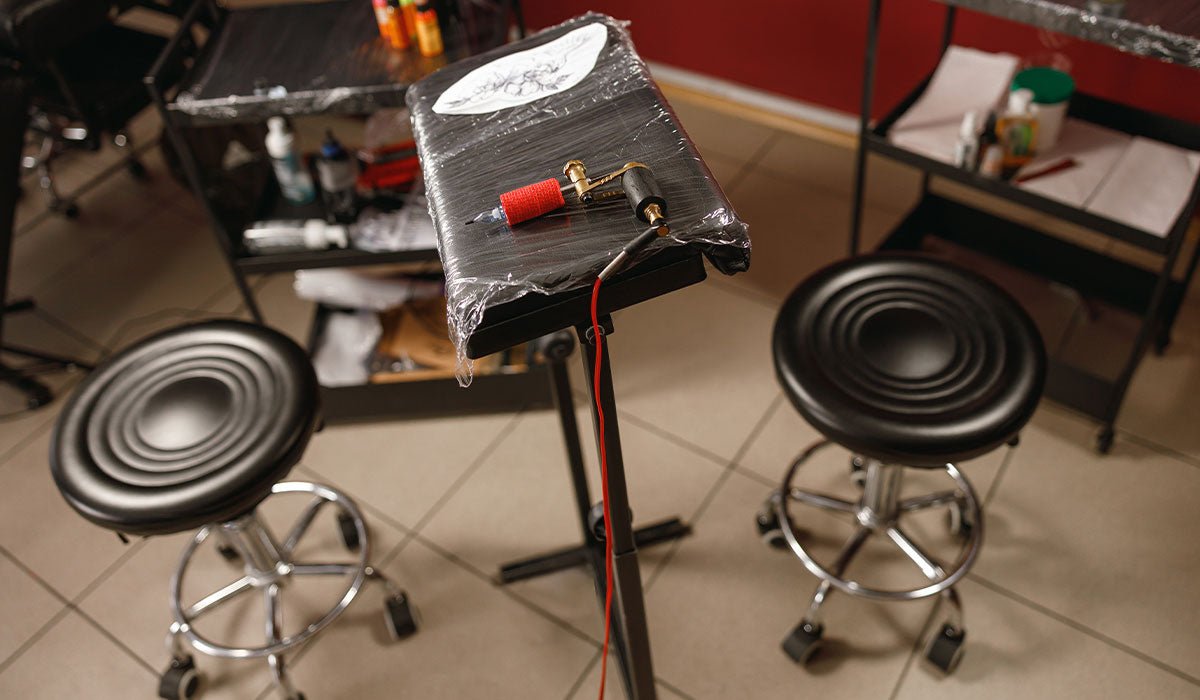
Understanding the Tattoo Power Supply
Before we even go into the details, let's first learn what a tattoo power supply is. The power supply—although a small part of the tattoo machine—is, in fact, its heart, providing the necessary voltage and current to run the tattoo needles. To get yourself acquainted with its parts and their functionality is a must to churn out the best possible output.
Voltage Adjustment
The place to start when getting your tattoo machine ready is by setting the right voltage. Different levels of voltage are needed, depending on what you are doing and for whom. Stick to really fine lines at low voltages, like between 5 and 8 volts. If you're shading or in the middle of a color, bump it up between 8 and 10 volts. Be sure to test these settings to see what gives you the best, most precise results.
Handling the Current
Just as important is knowing the machine's current output. This is what is responsible for controlling the speed and force with which the needles enter the skin. If the needles are anywhere near really sensitive spots, use a lower current. Higher ones are for thicker areas. This will keep your client comfortable and prevent the skin from sustaining any kind of damage.Foot Pedal Skills
Many tattoo machines include a foot pedal to control the current flow. Once you become used to it, you'll have good control and keep your lines clean. Further practice will also maintain power, which in turn will keep your client from squirming too much.Play with Polarity
Some tattoo machines have the facility to switch the polarity, changing things up with your needles. Play around with it to see what setting works best with your style. Positive polarity might work well for detailed lines, while negative polarity might work better for shading and adding color.Needle Type and Setting
The type of needle you choose can and does have an effect on the power setting required to use it correctly. Various needle styles will require predetermined voltage and current settings. Ensure that you have the right settings for the needle to achieve the results you desire.Conclusion:
The ability to set up the tattoo power supply correctly is a skill that takes practice, patience, and solid knowledge of both the device and what you want to achieve artistically. Once you master voltage, current, control through the foot pedal, polarity, and how the needles are configured, you will be on your way to making breathtaking tattoos that will leave an impression. Keep in mind, every artist has their own journey, so make sure to experiment, adapt, and refine your settings until you hit the sweet spot.Whether you are a seasoned tattoo artist looking to further refine your craft or a novice seeking to learn, we hope that this ultimate guide has bestowed upon you the critical knowledge you need to confidently set up tattoo power supply settings. Increase your tattooing game, one well-calibrated power supply at a time.
Featured Blogs

How to Handle Difficult Clients as a Tattoo Artist
Tattoo Aftercare: What to Tell Your Clients for Safe Healing


Understanding the Legal Aspects of Tattooing in 2026


Best Budget-Friendly Tattoo Kits for Aspiring Artists
Wired vs. Wireless Tattoo Machines: Which is Right for You?
Top Tattoo Ink Mistakes Beginner Tattoo Artists Make
- Choosing a selection results in a full page refresh.