Your cart is empty


The Secrets to Perfect Shading Every Time
Tattoo shading is what takes a tattoo from good to amazing. It adds depth, contrast, and realism, making the design pop. But perfect shading isn’t just about having the right gear—it’s about mastering technique, understanding key principles, and putting in the practice.
Want to level up your shading game? You’re in the right place. This guide will break down everything you need to know to nail flawless tattoo shading every time. Let’s dive in!
Tattoo Shading Basics
Before jumping into advanced techniques, you need to get the fundamentals down:
Gradation: Smooth transitions from dark to light create depth and dimension.
Needle Choice: Different needle types, like magnums and round shaders, give different results.
Ink Dilution: Using gray washes helps blend shades smoothly.
Hand Speed & Pressure: Keeping these consistent prevents patchy shading.
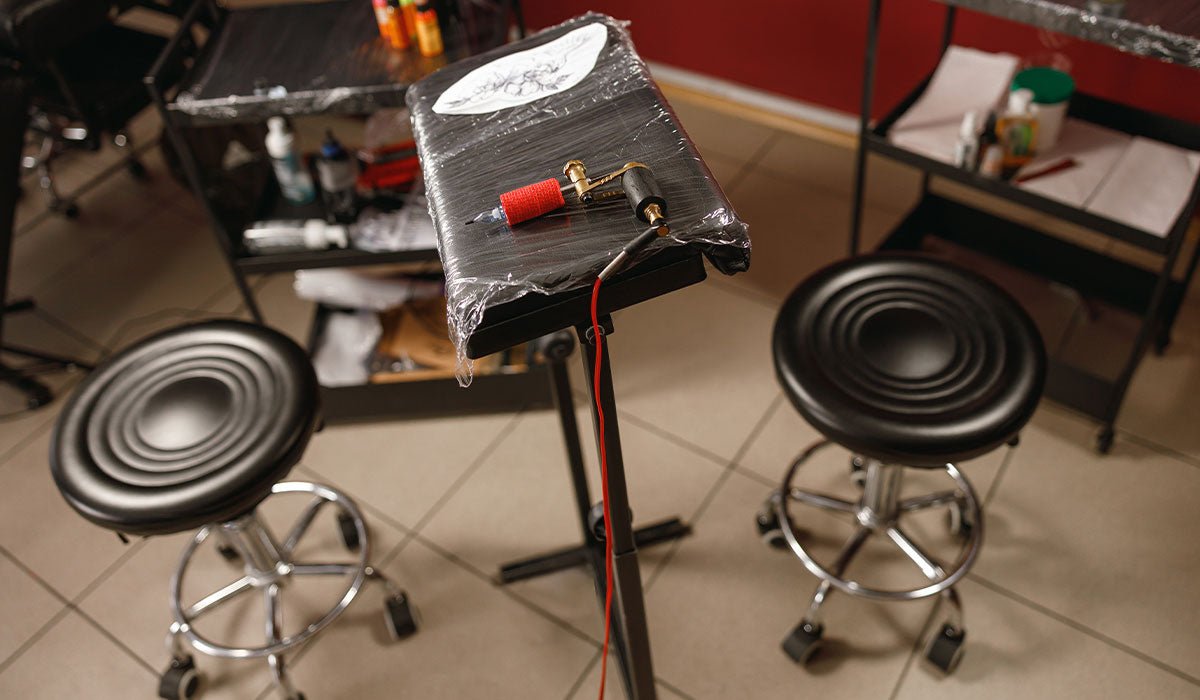
Must-Have Tools for Perfect Shading
The right equipment can make a world of difference. Here’s what you need:
1. Tattoo Machine
A rotary machine is great for shading because of its smooth motion, but a well-tuned coil machine can work just as well.
2. Needles for Shading
Magnum Needles – Best for soft shading and blending.
Round Shaders – Ideal for areas that need more saturation and depth.
Curved Magnums – Minimize skin trauma while creating smoother blends.
3. High-Quality Tattoo Ink
Good ink = good shading. Stick to reputable brands for consistency, and consider using pre-mixed gray washes for seamless blends.
4. Shading Solution & Gray Wash Techniques
Mixing ink with distilled water or witch hazel helps control shading intensity and creates softer transitions.
Mastering Tattoo Shading Techniques
1. Whip Shading
A flicking motion with the needle creates soft, feathered gradients. Perfect for light shading and works best with round shaders.
2. Brush Shading
Think of it like a paintbrush—the needle barely touches the skin, creating a soft, smoky effect. Great for realism and portraits.
3. Stipple Shading (Dotwork)
Tiny dots build up shading and texture. This technique is often used in blackwork and geometric tattoos.
4. Layering & Soft Shading
Applying multiple light layers instead of one heavy pass prevents harsh transitions and overworking the skin.
Avoiding Common Shading Mistakes
1. Overworking the Skin
Too much shading in one area can cause scarring and uneven healing. To avoid this:
✔️ Use a light touch.
✔️ Let the skin rest between passes.
2. Patchy Shading
This happens when pressure or speed is inconsistent. Fix it by:
✔ ️ Keeping a steady hand speed.
✔ ️ Maintaining consistent voltage on your machine.
3. Rushing the Process
Great shading takes time. Build up layers gradually for smooth, natural-looking results.
4. Using the Wrong Needle
Liners aren’t for shading! Stick to magnums and round shaders for the best effect.
Pro Tips for Flawless Shading
Adjust Hand Speed & Machine Voltage
Slower movements with lower voltage help create softer gradients.
Stretch the Skin Properly
Keeping the skin taut helps the ink go in evenly. Always stretch the area with your free hand.
Maintain a Consistent Angle
Holding your machine at the same angle prevents uneven shading.
Experiment with Gray Washes
Different dilutions give you better control over shading depth. Always test your mixes first.
Learn from the Pros
Watch experienced tattoo artists work, take workshops, and study their techniques.
Final Thoughts
Perfect shading isn’t just a skill—it’s an art that takes patience and practice. By using the right tools, mastering key techniques, and avoiding common mistakes, you’ll see major improvements in your tattoo shading.
Whether you’re a beginner or a seasoned artist, always keep refining your technique. Stay patient, keep practicing, and never stop learning!
Did this guide help? Let us know your thoughts in the comments
Featured Blogs

Why Your Tattoo Stencil Keeps Smudging (And the 3-Step Fix That Actually Works)
How to Handle Difficult Clients as a Tattoo Artist
Tattoo Aftercare: What to Tell Your Clients for Safe Healing


Understanding the Legal Aspects of Tattooing in 2026
Best Budget-Friendly Tattoo Kits for Aspiring Artists
Wired vs. Wireless Tattoo Machines: Which is Right for You?
- Choosing a selection results in a full page refresh.