Your cart is empty


How to Sterilize Tattoo Equipment: A Step-by-Step Guide
Introduction
Maintaining proper hygiene and sterilization of tattoo equipment is paramount in the tattooing industry. As a responsible tattoo artist or enthusiast, ensuring that your equipment is properly sterilized can prevent the risk of infections and complications for both the artist and the client. In this comprehensive guide, we'll walk you through the step-by-step process of sterilizing tattoo equipment effectively.
Section 1: Understanding the Importance of Sterilization
Before delving into the sterilization process, it's essential to grasp why proper sterilization is crucial. Tattooing involves breaking the skin barrier, which creates an entry point for bacteria, viruses, and other pathogens. Failing to sterilize equipment can lead to serious infections, allergic reactions, and even the spread of bloodborne diseases like hepatitis or HIV.
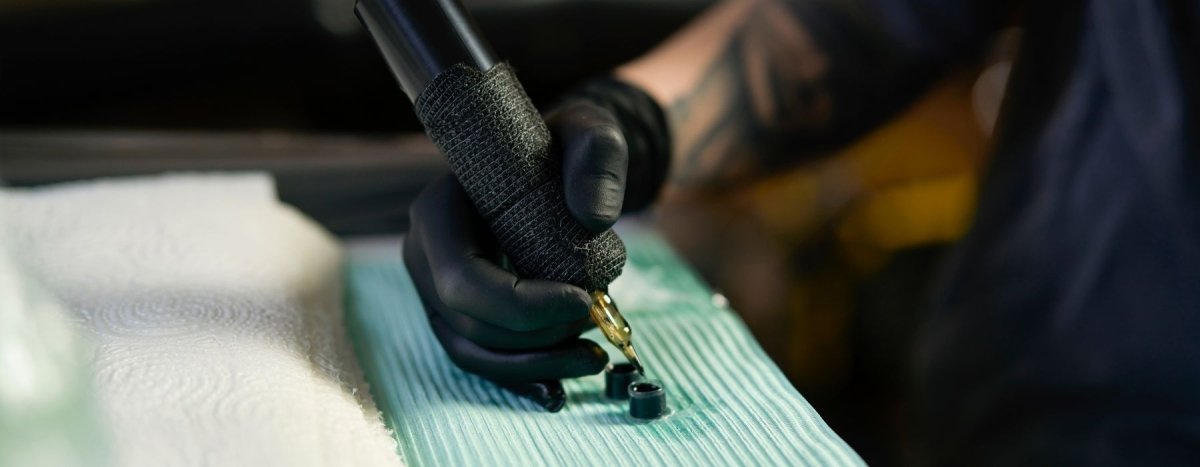
Section 2: Assembling Sterilization Tools
To kick off the sterilization procedure, it's essential to gather all the needed tools:
- Autoclave: This machine employs steam and pressure to eliminate bacteria, viruses, and spores from your equipment.
- Gloves: Put on disposable gloves to avoid any cross-contamination while sterilizing.
- Disposable Wraps or Pouches: Use these to encase the equipment during sterilization and keep it safe afterwards.
- Indicator Strips: These will change color to indicate that the equipment has been thoroughly sterilized.
- Cleaning Supplies: Prep your equipment with enzymatic cleaners, brushes, and detergents before sterilizing.
Section 3: Preparing the Equipment for Sterilization
- Disassembly: Disassemble the equipment into its individual components for thorough cleaning and sterilization.
- Pre-Cleaning: Scrub the equipment with enzymatic cleaner and brushes to remove any visible debris, ink, or bodily fluids.
- Rinsing: Rinse the equipment with clean water to remove residue from the cleaning agents.
Section 4: Loading the Autoclave
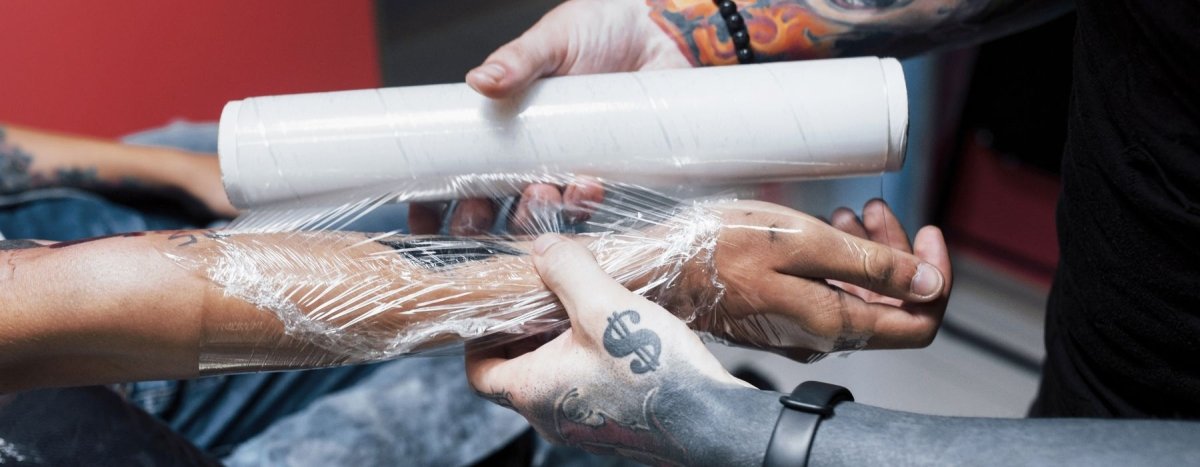
- Wrapping: Place the cleaned equipment in disposable wraps or pouches. Be sure not to overcrowd the wraps, allowing steam to circulate freely.
- Indicator Strips: Insert autoclave indicator strips into the wraps. These strips will help you confirm that the equipment has been properly sterilized.
Section 5: Operating the Autoclave
- Water Level: Fill the autoclave with the appropriate amount of distilled water as specified in the manufacturer's instructions.
- Loading: Carefully load the wrapped equipment onto the autoclave trays. Follow the manufacturer's guidelines for proper loading.
- Settings: Set the autoclave to the appropriate temperature and pressure for sterilization. Standard settings are typically around 121°C (250°F) at 15 psi for 15-20 minutes.
- Sterilization: Start the autoclave cycle. The autoclave will raise the temperature and pressure, effectively killing all pathogens.
Section 6: Post-Sterilization Process
- Cooling: Allow the autoclave to cool down before opening it. This prevents equipment from becoming contaminated due to rapid temperature changes.
- Verification: Check the indicator strips. If they have changed color as indicated by the manufacturer, the equipment is sterilized.
- Storage: Store the sterilized equipment in a clean and dry area until it's ready for use.
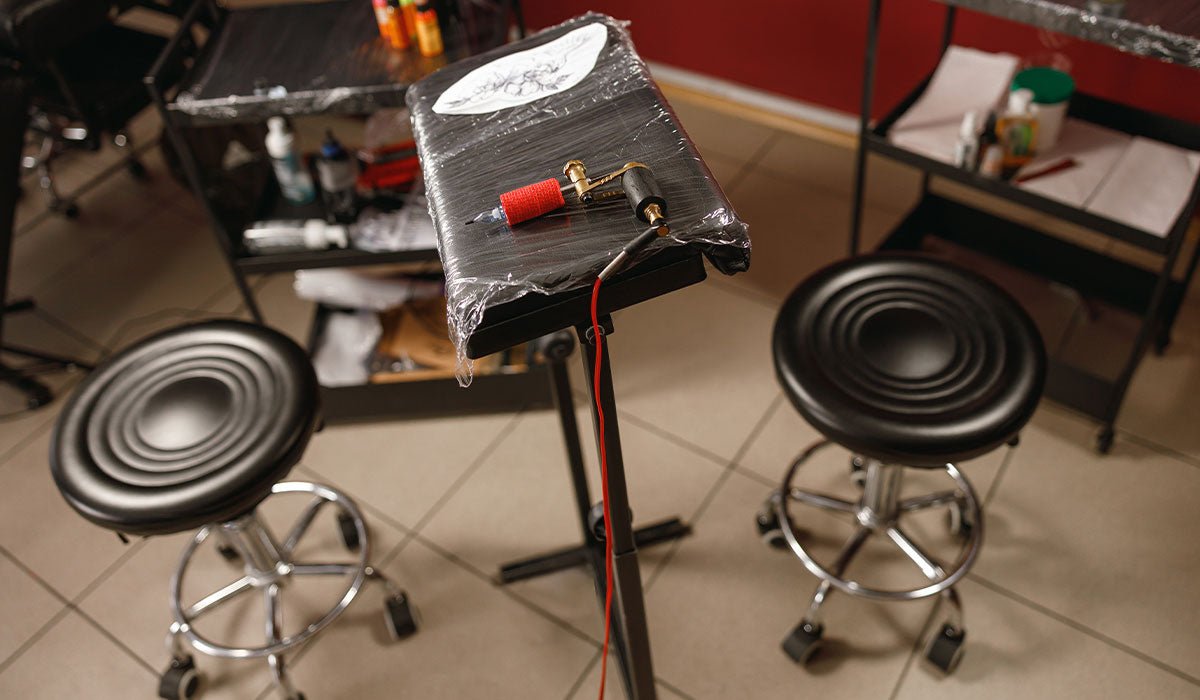
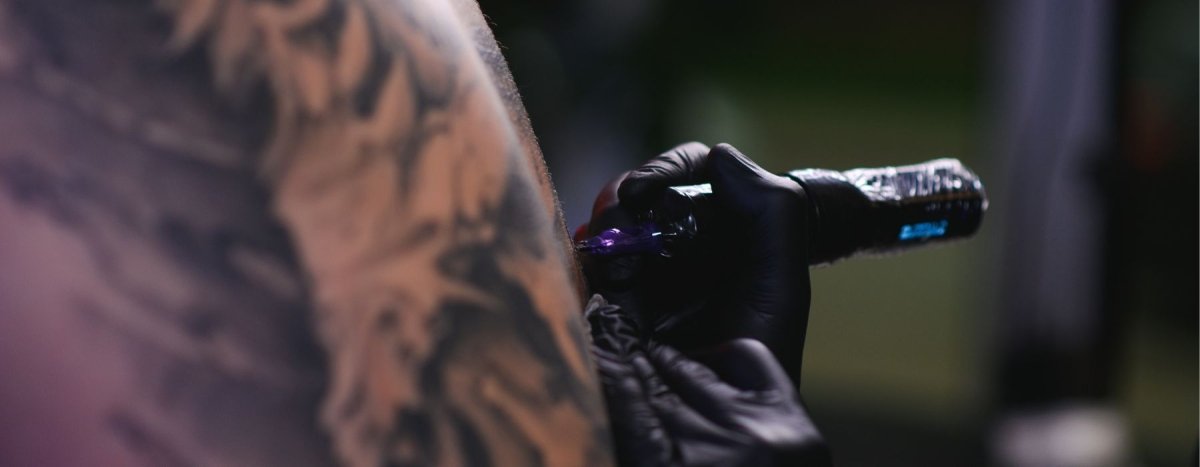
Section 7: Maintaining a Sterile Environment
- Personal Hygiene: Tattoo artists should maintain high personal hygiene standards, including hand washing and wearing clean clothing.
- Workstation Hygiene: Regularly clean and disinfect your tattooing workstation, including surfaces, chairs, and lighting.
Conclusion
Sterilizing tattoo equipment is a non-negotiable aspect of responsible tattooing. By following this step-by-step guide, you can ensure the safety and well-being of both yourself and your clients. Remember, proper sterilization isn't just a best practice—it's an essential commitment to providing quality and safe tattoo services.
Featured Blogs

How to Handle Difficult Clients as a Tattoo Artist
Tattoo Aftercare: What to Tell Your Clients for Safe Healing


Understanding the Legal Aspects of Tattooing in 2026

Best Budget-Friendly Tattoo Kits for Aspiring Artists
Wired vs. Wireless Tattoo Machines: Which is Right for You?
Top Tattoo Ink Mistakes Beginner Tattoo Artists Make
- Choosing a selection results in a full page refresh.