Your cart is empty


Mastering the Art of Tattoo Shading: The Ultimate Guide for Artists
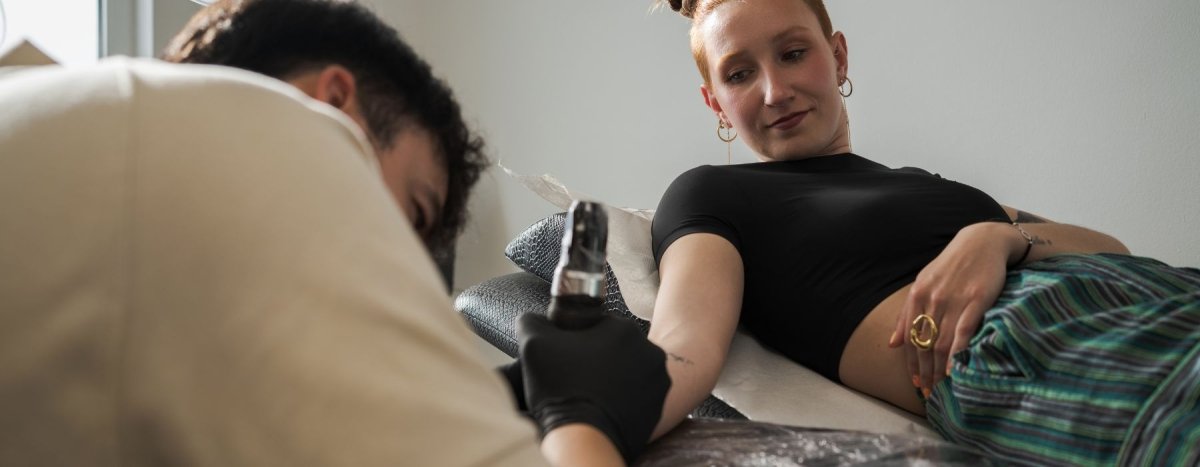
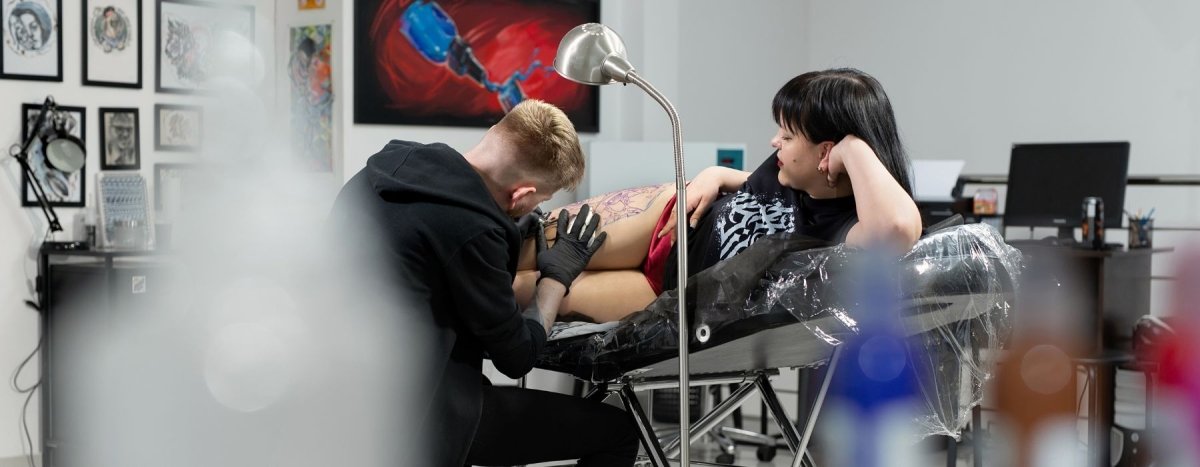
Welcome, tattoo artists and aficionados alike! If you’re looking to elevate your game and truly make your art stand out, you’ve come to the right place. Tattooing is not just about lines and colors; it’s also about creating depth, dimension, and texture. One of the essential techniques to accomplish this is through effective shading. In this comprehensive guide, we’ll delve into the intricacies of mastering the art of tattoo shading to help you create tattoos that are nothing short of breathtaking.
Why Focus on Shading?
Let's get into why shading is a game-changer in tattooing before we jump into the how-tos. Shading brings your art to life, turning basic, flat designs into something that looks real and dynamic. It's all about playing with light and shadow to give your image that 'wow' factor. Getting a handle on this technique can really take your tattoo work to a whole new level.
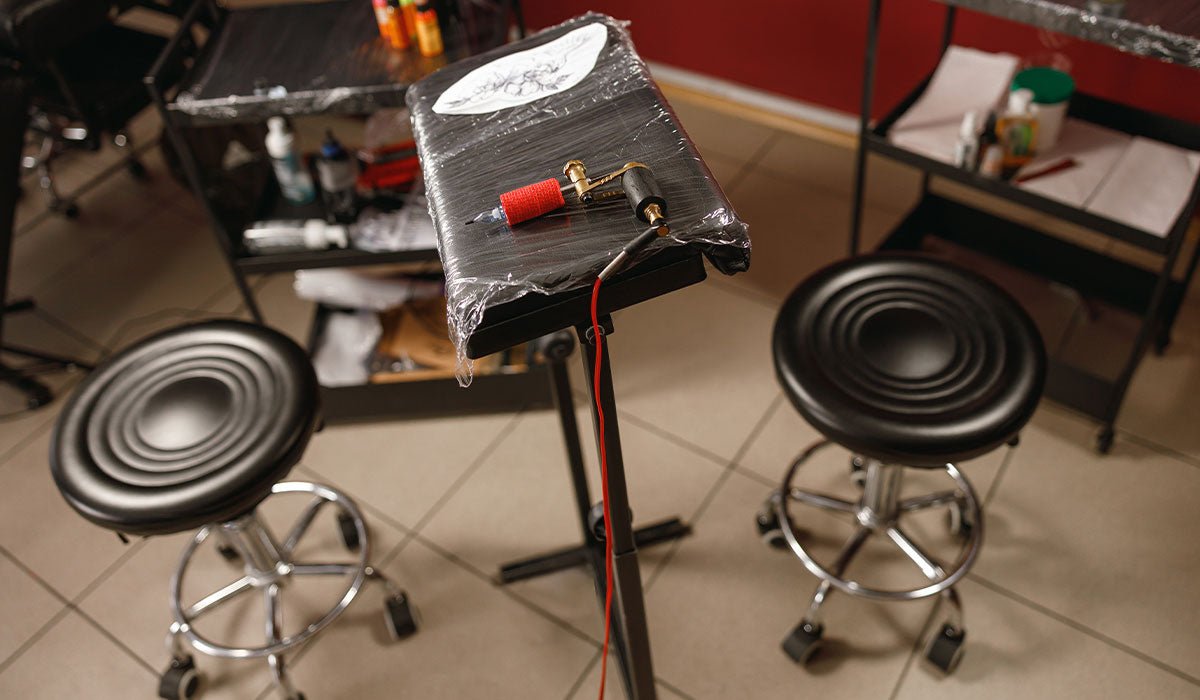
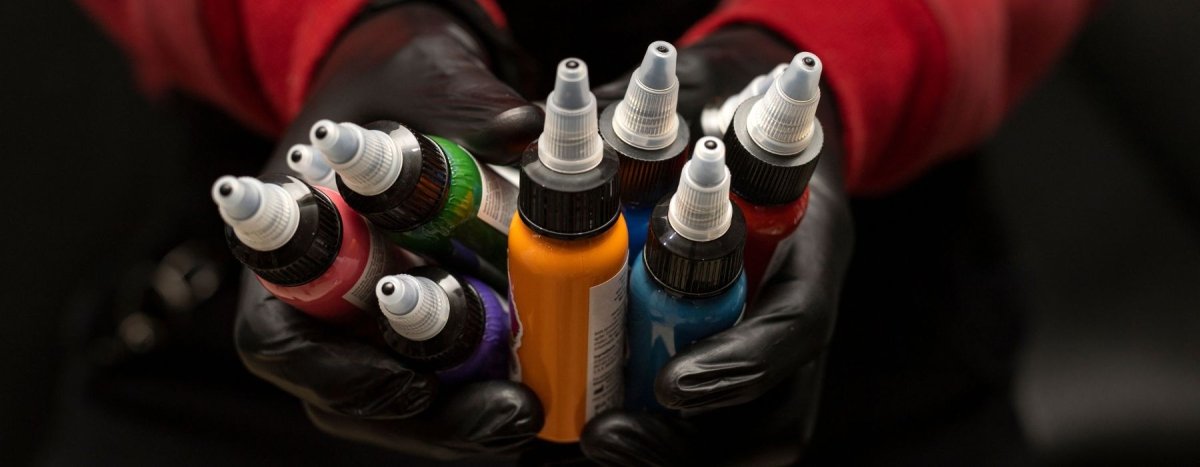
Essential Tools for Shading
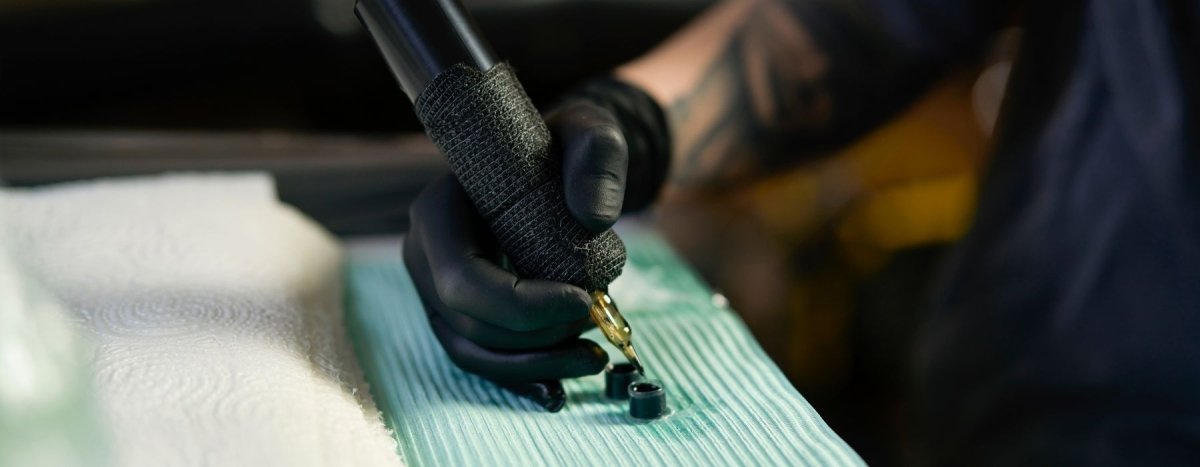
The cornerstone of all tattooing, including shading, is your tattoo machine. For shading, rotary tattoo machines are often preferred due to their smoother needle movement.
Different needle configurations can significantly affect the shading outcome. For broader and softer shades, magnum needles are generally recommended.
High-quality tattoo ink is a must for better results and longevity. The ink consistency can also affect how smoothly the shading process will go.
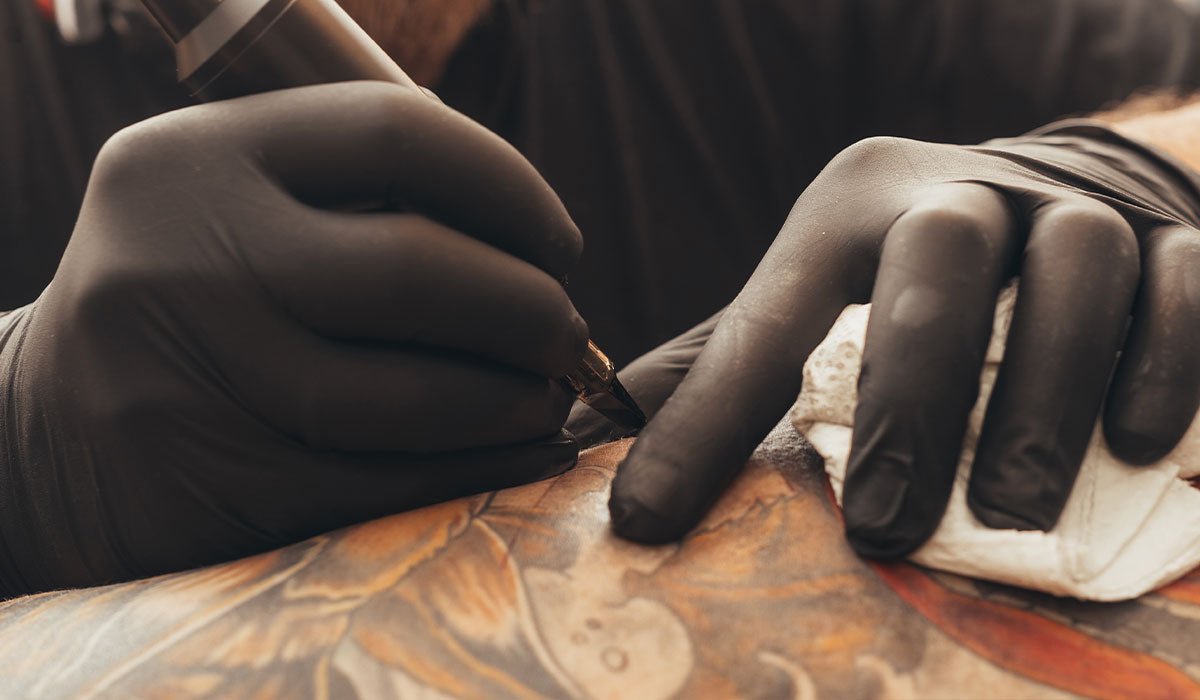
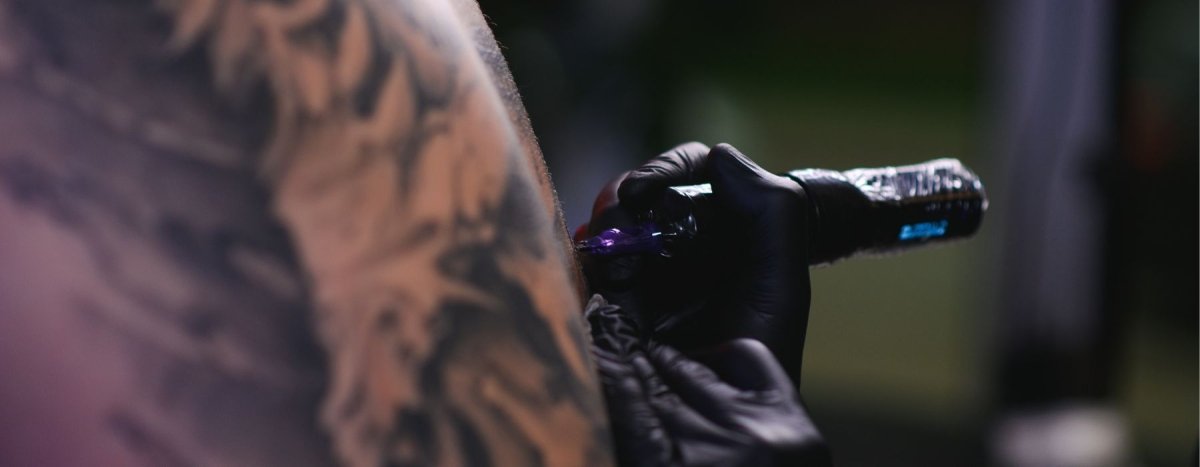
Techniques for Mastering Tattoo Shading
- Whip Shading
This is a freehand technique that gives you more control over the needle. You move the needle in a whipping motion, pulling it away from the area you are shading. This technique is excellent for gradual fades.
- Circular Shading
In this method, the artist uses small, circular motions to fill in the shaded areas. This technique is excellent for filling larger spaces and gives a more even look compared to whip shading.
- Cross-Hatching
This involves laying down parallel lines and then crossing them with another set of parallel lines. It’s a great way to build up different layers and tones in a tattoo.
- Brush Shading
In brush shading, the needle hits the skin at an angle, much like a paintbrush. This technique allows for a smoother transition between light and dark areas.
- Dotwork Shading
Dotwork involves making a shade gradient through the strategic placement of dots. Though time-consuming, this technique yields incredible results when done correctly.
Tips and Tricks for Better Shading
- Consistency is Key: Keep a consistent hand movement and pressure throughout the process.
- Blending: Always blend your shades well. The smoother the transition from dark to light, the more three-dimensional your tattoo will look.
- Depth: Use darker ink for the deeper parts of the design to create an illusion of depth.
- Test Runs: Before working on actual skin, practice on synthetic skin to refine your shading skills.
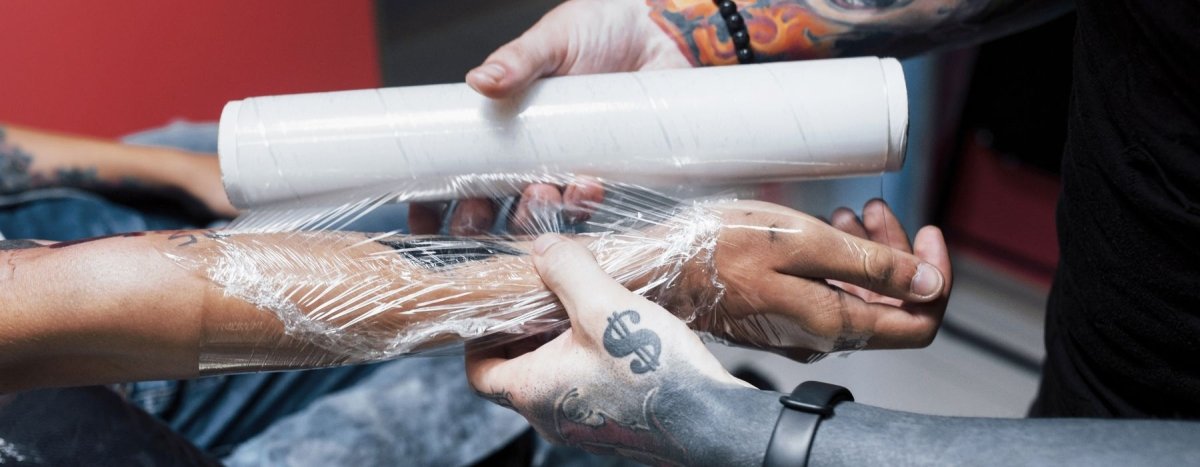
- Hygiene: Always remember to maintain a sterile work environment. This is crucial for the health of both the artist and the client.
Conclusion
Mastering the art of tattoo shading is no easy feat, but with practice, the right tools, and a comprehensive understanding of various techniques, you can achieve remarkable results. So go ahead, delve into the world of shading, and watch as your tattoo designs come to life like never before.
Featured Blogs
How to Handle Difficult Clients as a Tattoo Artist
Tattoo Aftercare: What to Tell Your Clients for Safe Healing


Understanding the Legal Aspects of Tattooing in 2026

Best Budget-Friendly Tattoo Kits for Aspiring Artists
Wired vs. Wireless Tattoo Machines: Which is Right for You?
Top Tattoo Ink Mistakes Beginner Tattoo Artists Make
- Choosing a selection results in a full page refresh.