Your cart is empty


Secrets to Perfect Tattoo Lining: How to Set Up Your Tattoo Gun
Knowing how to set up a tattoo machine for this use is essential to getting perfect tattoo lining. For both seasoned tattoo artists and those just learning how to set up a tattoo machine, this is a crucial ability. The ultimate result of the tattoo is greatly influenced by the tattoo machine setup process, especially in terms of intricacy and overall beauty.
This article provides a thorough how-to for setting up tattoo machines, especially for lining work. It offers detailed, numbered instructions to guarantee accuracy and versatility on various skin types. Artists can enhance the quality of their work by learning about the machine's numerous parts, modifying the voltage, and tailoring it to suit different skin types. Understanding how to set up a tattoo machine properly is key to achieving the best results.
Understanding Your Tattoo Machine Components
Introduction to the Main Parts
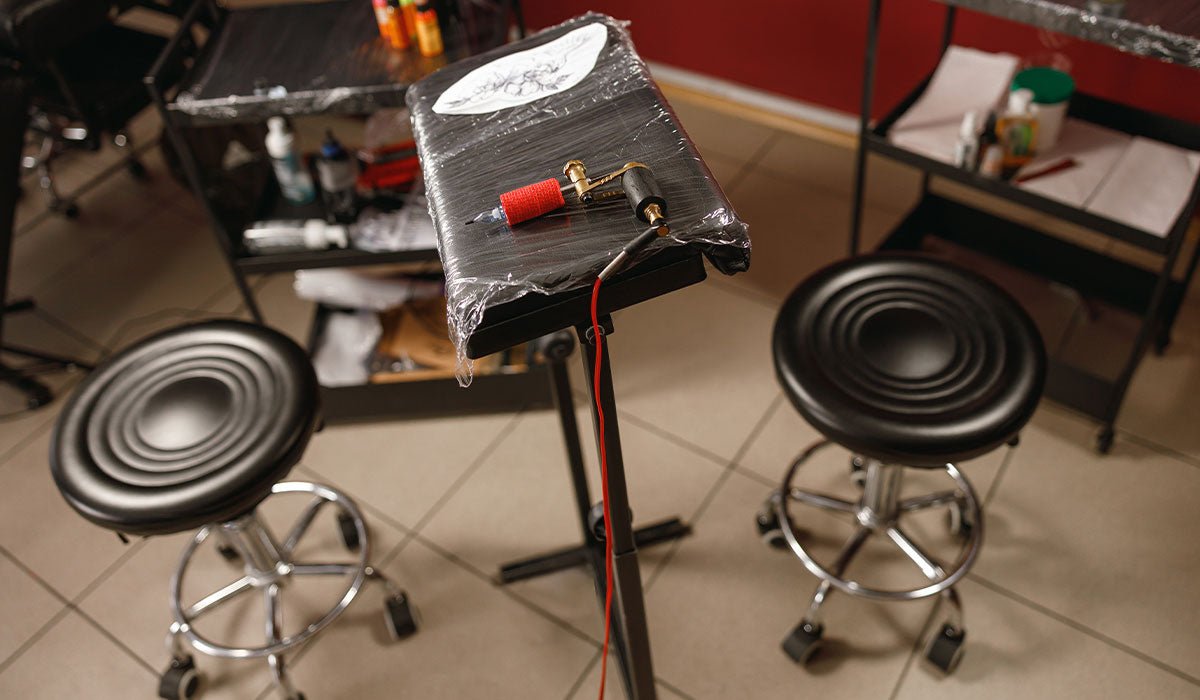
Tattoo machines are complex devices with many essential components working in unison to implant ink into the skin. The basic parts are the frame, coils, armature bar, springs, contact screw, and needle bar. The framework is basically the base of the machine, offering support and rigidity to the rest of the parts. The coils, mounted on the framework, are copper electromagnets, the most important part of a tattoo machine. These are responsible for providing the needed magnetic field and causing the needle to move up and down. A proper coil tattoo machine setup is crucial for optimal performance.
Functionality of Each Component
Frame and Coil
The frame, steel, or aluminum, contributes to holding the machine's configuration together.
Coils are these layers of copper wire that wrap around an iron core, which functions to create an electromagnetic force that, in return, will move the armature bar.
The Armature Bar and Springs
The armature bar is fastened to the coils and, when electromagnetic energy is translated through it, the coils move it into a mechanical motion driving the needles.
Two springs are used to control the speed and depth of the needle reciprocatingly. They are the front spring for retraction and rear spring for penetration depth.
Contact Screw and Needle Bar
With this part, tattooists can adjust the speed, power, and reactivity of the machine by changing the distance between the bar and the coils.
The needle bar is the bar in which the needles are placed and transfers the ink from the tube into the skin. The needle bar is fastened to the armature bar and moves in conformity with it.
When tattoo artists understand these components and what they are meant to do, they can calibrate their machines to achieve peak performance and deliver precision and quality in each tattoo.
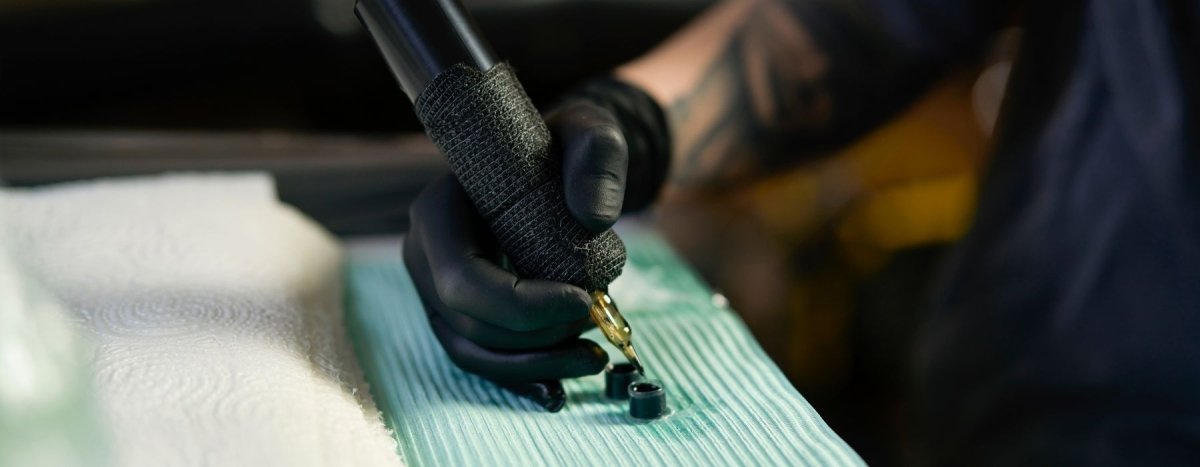
Making the Machine Ready for Lining
Choosing the Right Needle and Cannula
Needle Selection:
When using for lining, a round liner needle such as an 11 round liner will allow for a chance to make big bold black lines, while a 5 round liner will be good for tight corners and detail work. Proper lining tattoo needle setup is essential for achieving the desired results.
Depending on the complexity and finesse required, other sizes, such as a 7 round liner, can be used for specific details within a design of a tattoo.
Tube Selection:
Make sure the tube is the right size for the needle. This provides for proper ink flow and the proper stability between the needle and tube for support while tattooing.
Adjusting the Armature Bar and Springs
Armature Bar Alignment:
This will be positioned straight, and the armature bar should hit the top coil squarely; this prevents any skew of the needle movement, which can affect the quality of the line.
Spring Adjustments:
The tension of the springs can be set according to the lining work. A thin back spring would be great for softer hits that are perfect for gentle shading, while a thick one is going to give a hard hit, which is perfect for bold, strong lines.
Setting the Contact Screw and Front Spring for Perfect Lining
Contact Screw Adjustment:
First, set the contact screw to create a dime-width gap when the armature bar is pressed down. That's a pretty standard gap for lining.
Adjust the screw for the balance of speed and sensitivity of the machine to such a degree that the needle moves with maximum efficiency and at maximum accuracy, ensuring optimal machine tuning.
Front Spring Setting:
The front spring should also be checked for wear, as it directly influences the movement of the needle and can thus be a critical point in maintaining quality lines.
Replace if necessary to maintain ideal performance of the machine and ensure the same smooth and consistent line quality in the tattoo from start to finish.
It's an ability of tattoo artists to set up their machines to the point that doing the lines in a very precise and clean way is so crucial to good tattoo lining. Proper choice of needles and tubes, correct alignment of the armature bar, fine tuning of springs, and contact screw are the key points. Learning how to put a tattoo gun together, how to assemble a tattoo machine from scratch, and how to put together a tattoo gun step-by-step is essential.
Adjusting Voltage and Speed Settings on the Machine for Precision
Finding the Right Voltage Setting
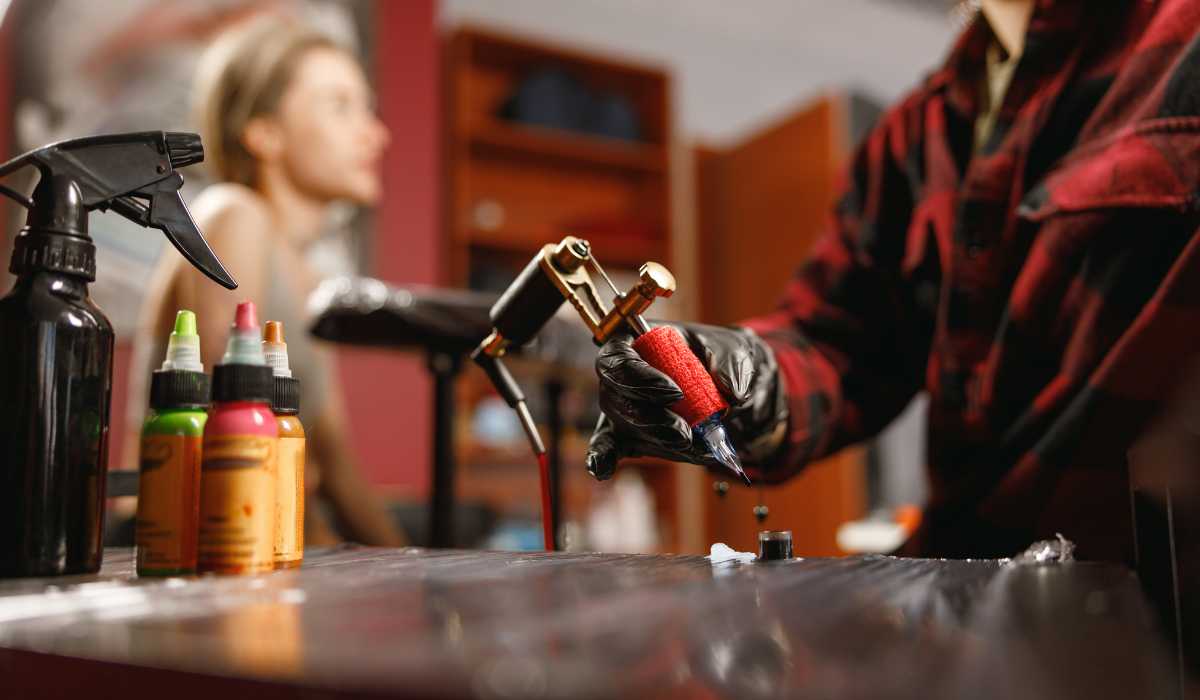
- Starting Voltage: Always start with minimal voltage for beginners so as not to inflict much pain on the skin of the client. For the line work, a good starting voltage can be set to around 8 volts, as this provides good power without being too aggressive.
- Note that this voltage has to be adjusted when doing other tattoo styles. Other styles, such as neo-traditional or traditional, with thicker lines may possibly require a higher power voltage of about 10 to 10.5 volts, to make sure the ink is in properly.
- Shading Voltage: For shading, or to create a more realistic tattoo, decrease the power voltage down to around 8 volts with a 3mm stroke. This will allow you to achieve smoother shading and keep your work fairly consistent.
- Monitoring Healing Tattoos: The manner in which the tattoo heals can serve as an indicator of whether the power voltage used is appropriate. Over-scabbed areas, or those with traumatic appearances, are pretty clear-cut signs that the voltage may be too high.
- Voltage and Machine Types: The power voltage setting may also vary between tattoo machine types. Rotary machines have different voltage requirements compared to coil machines, largely due to different motor design.
Adjust Speed for Smooth, Consistent Lines
- Machine Speed: The speed at which a tattoo machine runs—generally in cycles per second—directly translates to the quality of your linework. Running a machine too fast can cause trauma and uneven lines, while running it too slow will leave incomplete or faint lines. Additionally, the stroke length plays a crucial role in achieving the desired results.
- Speed and Needle Size: The size of the needle can affect the required speed. Those with larger needle sizes for the configuration may require it to operate at a slower speed to account for the added resistance the machine is creating.
- Speed Adjustment Technique: Start from the speed below, increase, and finally establish the best setting, which responds to the speed of your hand and the requirements of the tattoo design. This helps you make some very accurate and constant lines without hurting the skin.
- Listening to the Machine: The sound of the machine also provides another guideline to the adjustments. A correct-running machine at the right speed will have a consistent stable sound and will not sound like it is straining or stuttering.
- Sensible Testing on Fake Skin: It would be recommended to test the settings on fake skin before applying them to the client's skin. This practice guides corrections to be made according to the actual performance of the machine under the set parameters.
Tuning Your Machine for Different Skin Types
Adapting Machine Settings for the Skin Thickness
1. Needling Depth and Speed Adjustments:
- The slower needle speed will effectively penetrate the skin without creating undue trauma, thus allowing for proper needle penetration and placement of ink into the skin.
- Conversely, thin skin will be an advantage, as the speed of the skin around the ankle or wrist is slower to avoid over bleeding, and also to make sure that the needle goes in at the right depth.
- Thicker skin may just need a bit more power pushed through in order to fight back the resistance of the skin so that the needle drives properly to the right depth to put ink in.
- A low voltage setting can also be used on thinner or more sensitive areas to minimize trauma and discomfort, ensuring the power is adjusted appropriately.
Tips for Maintaining Depth and Consistency
1. Consistent Needle Depth:
- This will ensure the tip of the needle does not protrude more than 2 mm or less than 1 mm, maintaining a consistently equal depth into the skin across differing skin types. This element of needle penetration is of paramount importance to the realized quality of the lines and ink retention.
- You can first practice on artificial skin or fruits to develop depth control before proceeding to practice on human skin. These things are the best approximation to the resistance of human skin.
- Be cautious about the quantity of bleeding or skin response when tattooing. Heavily flowing blood might be a sign that the needle is set in too deep; hence, this might be a bad idea, especially in areas with thin skin, as it can lead to significant skin trauma.
- Make machine setting adjustments based on real-time observations to ensure that the ink is deposited in the correct manner that is not traumatizing or too uncomfortable.
This careful setting of the tattoo machine, according to the thickness of the skin, is maintained at a consistent depth of the needles for optimal placement of the ink for best results. Tuning carefully allows different characteristics of skin so that the work heals to its best and suits the client perfectly.
Conclusion
Throughout this manual, we have delved deep into the intricacies of setting up the tattoo gun for supreme lining work, with a lot of emphasis on knowledge regarding machine components, needle and tube selection, and important adjustments of the armature bar, springs, and contact screw. These steps open the door for an artist to get the precision and flexibility in his craft so that every tattoo meets and exceeds expectations, both artistically and for the client. We emphasize the way through which the tattooing process can be tailored to diverse styles and individual skin types—fine-tuning the machine voltage and speed for betterment of each piece, making the experience and outcome even better, whether using a coil machine or adjusting the clip cord.
It is, therefore, with no doubt that mastering the setup and tuning of a tattoo machine is imperative if one is to be successful in tattooing some quality tattoo lining. These processes, from selecting the right tool to adjustments done for particular skin types, come as a fine skill and knowledge in the art of tattooing. It allows artists to find new dimensions of their imagination and keep the beauty and aesthetic appeal of the work. For the novice or experienced tattoo artist, practice and learning in these areas will not only fine-tune skills but enrich the experience of tattooing for both the artist and the client, with each tattoo becoming a masterpiece in its own right. Learning how to set up a tattoo gun and understanding how to put a tattoo gun together with pictures can significantly enhance this process.
Featured Blogs

How to Handle Difficult Clients as a Tattoo Artist
Tattoo Aftercare: What to Tell Your Clients for Safe Healing


Understanding the Legal Aspects of Tattooing in 2026


Best Budget-Friendly Tattoo Kits for Aspiring Artists
Wired vs. Wireless Tattoo Machines: Which is Right for You?
Top Tattoo Ink Mistakes Beginner Tattoo Artists Make
- Choosing a selection results in a full page refresh.