Your cart is empty
Looks like you haven't added anything to your cart yet


Why Your Tattoo Stencil Keeps Smudging (And the 3-Step Fix That Actually Works)
If your stencil is fading, blurring, or straight-up vanishing before you've finished lining, the problem almost never comes down to a shaky hand. It comes down to three steps most beginners rush through — or skip entirely.
A blurry stencil doesn't just look messy. It moves your reference lines mid-tattoo, which means your linework drifts with it. The fix isn't a steadier hand. It's a better transfer.
Here's the exact process that gets a stencil to survive an entire practice session instead of disappearing after two passes.
Why Stencils Actually Fail (It's Not the Paper)
Most beginners assume a fading stencil means a bad stencil printer or cheap paper. In reality, stencil failure almost always comes from one of three things happening during application:
- The skin wasn't fully clean or fully dry before the stencil solution went on
- Too much solution was applied, creating a slick layer that never bonds
- The transfer was repositioned after the first press, which breaks the bond before it sets
Stencil solution works by creating a thin adhesive bridge between the transfer paper and the skin. That bond needs a clean, dry, single-contact surface to hold. Skip any one of those conditions and the stencil is compromised before the machine even turns on.
The 3-Step Transfer That Actually Holds
Step 1: Clean the Skin — and Actually Let It Dry
Wipe the practice skin (or, eventually, real skin) down with alcohol. Then wait. This is the step almost everyone rushes.
Any leftover moisture or oil sits between the skin and the stencil solution, and it will not bond through it. "Clean" and "dry" are two separate steps, not one. If the surface feels even slightly damp or tacky, give it another 30–60 seconds before moving on.
Step 2: Apply Stencil Solution Thin
More solution does not mean more hold. It means the opposite.
A thick layer of stencil solution creates a slick barrier that the transfer paper can't grip properly — it's a smear waiting to happen, not extra adhesion. Use a thin, even coat. You're aiming for tacky, not wet.
Step 3: One Press, One Peel — No Second Attempts
Press the stencil down once. Hold it firmly in place for 10 seconds. Peel back slowly and evenly.
Do not reposition. The moment you lift and re-press a stencil, you've broken the bond that was starting to form, and the result is a doubled, blurred outline that only gets worse from there. If the placement is off, remove it completely, re-clean the area, and start the whole process again. One shot, or start over — there's no in-between.
The Stencil Mistakes That Quietly Wreck Every Session
Even with the 3 steps down, a few habits will undo them fast:
- Touching the stenciled area before starting the tattoo (skin oils break the bond almost instantly)
- Applying stencil solution to skin that's still damp from cleaning
- Using old or expired stencil solution, which loses its adhesive properties over time
- Working in a humid room, which slows drying time and weakens the bond
- Wiping sweat or excess ink near the stencil mid-session instead of around it
None of these are hand-skill problems. They're all prep and process problems — which means they're all fixable before your next session, not something you have to "get better" at over time.
What Actually Makes This Easier
A clean transfer is a lot less about willpower and a lot more about having the right basics on hand: fresh stencil solution, quality practice skin that holds a bond properly (not the thin, slick kind that fights you), and enough of both that you're not stretching one bottle across ten sessions.
If your kit already came with a stencil printer, the transfer step is even more forgiving — a crisp printed line holds up better through the press-and-peel process than a hand-traced one ever will. This is one of the reasons the wireless kit + stencil printer bundle is the setup we recommend most to anyone still building consistency in their linework.
FAQ: Tattoo Stencil Transfer
Why does my tattoo stencil disappear so fast? Almost always one of three things: the skin wasn't fully dry before applying solution, too much solution was used, or the transfer was repositioned after the first press. Any one of these breaks the bond before it sets.
Can I fix a stencil once it starts fading mid-session? Not reliably. Once a stencil starts blurring, wiping and re-tracing over it usually makes lines wider and less accurate. It's faster and cleaner to remove it, re-clean the area, and do a fresh transfer.
How long should a good stencil transfer last? A properly applied stencil should hold for the length of a full practice or tattoo session — multiple passes with the machine — not just the first few lines.
Is more stencil solution better for a stronger hold? No. A thick layer prevents proper bonding and is more likely to smear than a thin, even coat.
Do I need special stencil solution, or will deodorant work? Dedicated stencil solution is formulated specifically to bond transfer ink to skin and hold up under wiping and machine use. Substitutes may transfer initially but tend to fail faster mid-session.
Want the full beginner setup — kit, stencil printer, and the consumables that actually make sessions easier? Shop the wireless kit bundles
Featured Blogs
The Tattoo Kit Gift Guide: What to Buy a Beginner This Year


October 2, 2026
The Tattoo Kit Gift Guide: What to Buy a Beginner This Year
Why Your Tattoo Stencil Keeps Smudging (And the 3-Step Fix That Actually Works)

July 7, 2026
Why Your Tattoo Stencil Keeps Smudging (And the 3-Step Fix That Actually Works)
How to Handle Difficult Clients as a Tattoo Artist

October 9, 2025
How to Handle Difficult Clients as a Tattoo Artist
Tattoo Aftercare: What to Tell Your Clients for Safe Healing
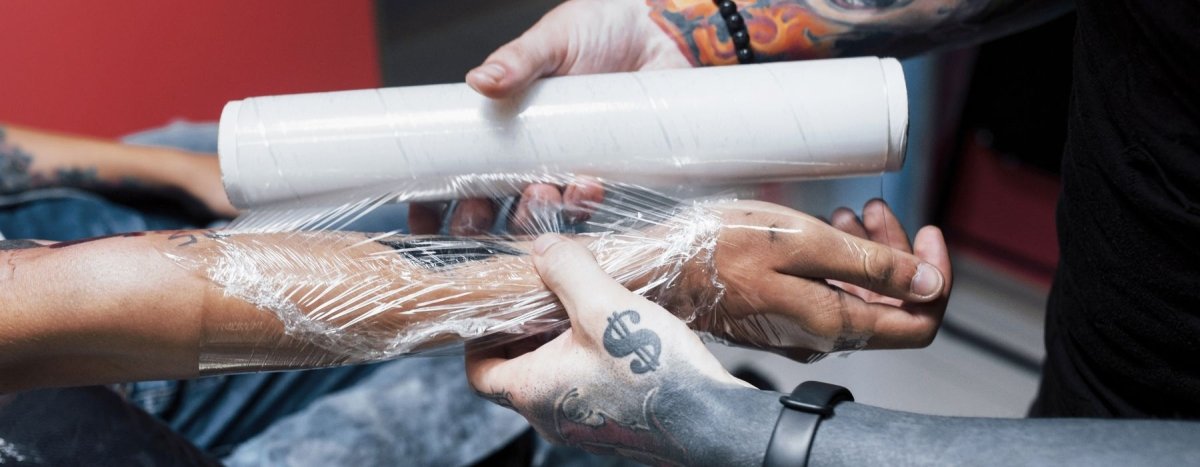
September 14, 2025
Tattoo Aftercare: What to Tell Your Clients for Safe Healing

Understanding the Legal Aspects of Tattooing in 2026


July 7, 2025
Understanding the Legal Aspects of Tattooing in 2026


Best Budget-Friendly Tattoo Kits for Aspiring Artists
March 3, 2025
Best Budget-Friendly Tattoo Kits for Aspiring Artists
- Choosing a selection results in a full page refresh.